

Learn how to use Canva for beginners to create and sell digital products. This guide covers design basics, licensing, and expert tips for starting online jobs today.
Mastering Canva for Beginners: Your Path to Creating and Selling Digital Products
Introduction: Why Digital Products are the Future of Online Jobs
Have you ever scrolled through Etsy or Pinterest and wondered how people are making a living selling simple PDF planners or aesthetic social media templates? It feels like everyone has a side hustle these days, and for a good reason. The barrier to entry has never been lower. You don't need a degree in graphic design or a mastery of complex software like Adobe Illustrator anymore. In fact, most of the successful creators I know started with nothing more than a curious mind and a free Canva account. If you are looking for Online Jobs that offer flexibility and creative freedom, learning to Sell Digital Products is one of the most sustainable paths you can take.
Canva has revolutionized the way we think about design. It has leveled the playing field, allowing anyone with a computer to create professional-grade visuals. But here is the catch: just because the tool is easy to use doesn't mean the business side is a walk in the park. Success in this space requires a blend of design intuition, understanding your market, and knowing the technical ins and outs of the platform. This guide is designed to take you from a complete novice to a confident creator. We are going to dive deep into Canva for Beginners, covering everything from the first click on the dashboard to the final export of your first profitable product.
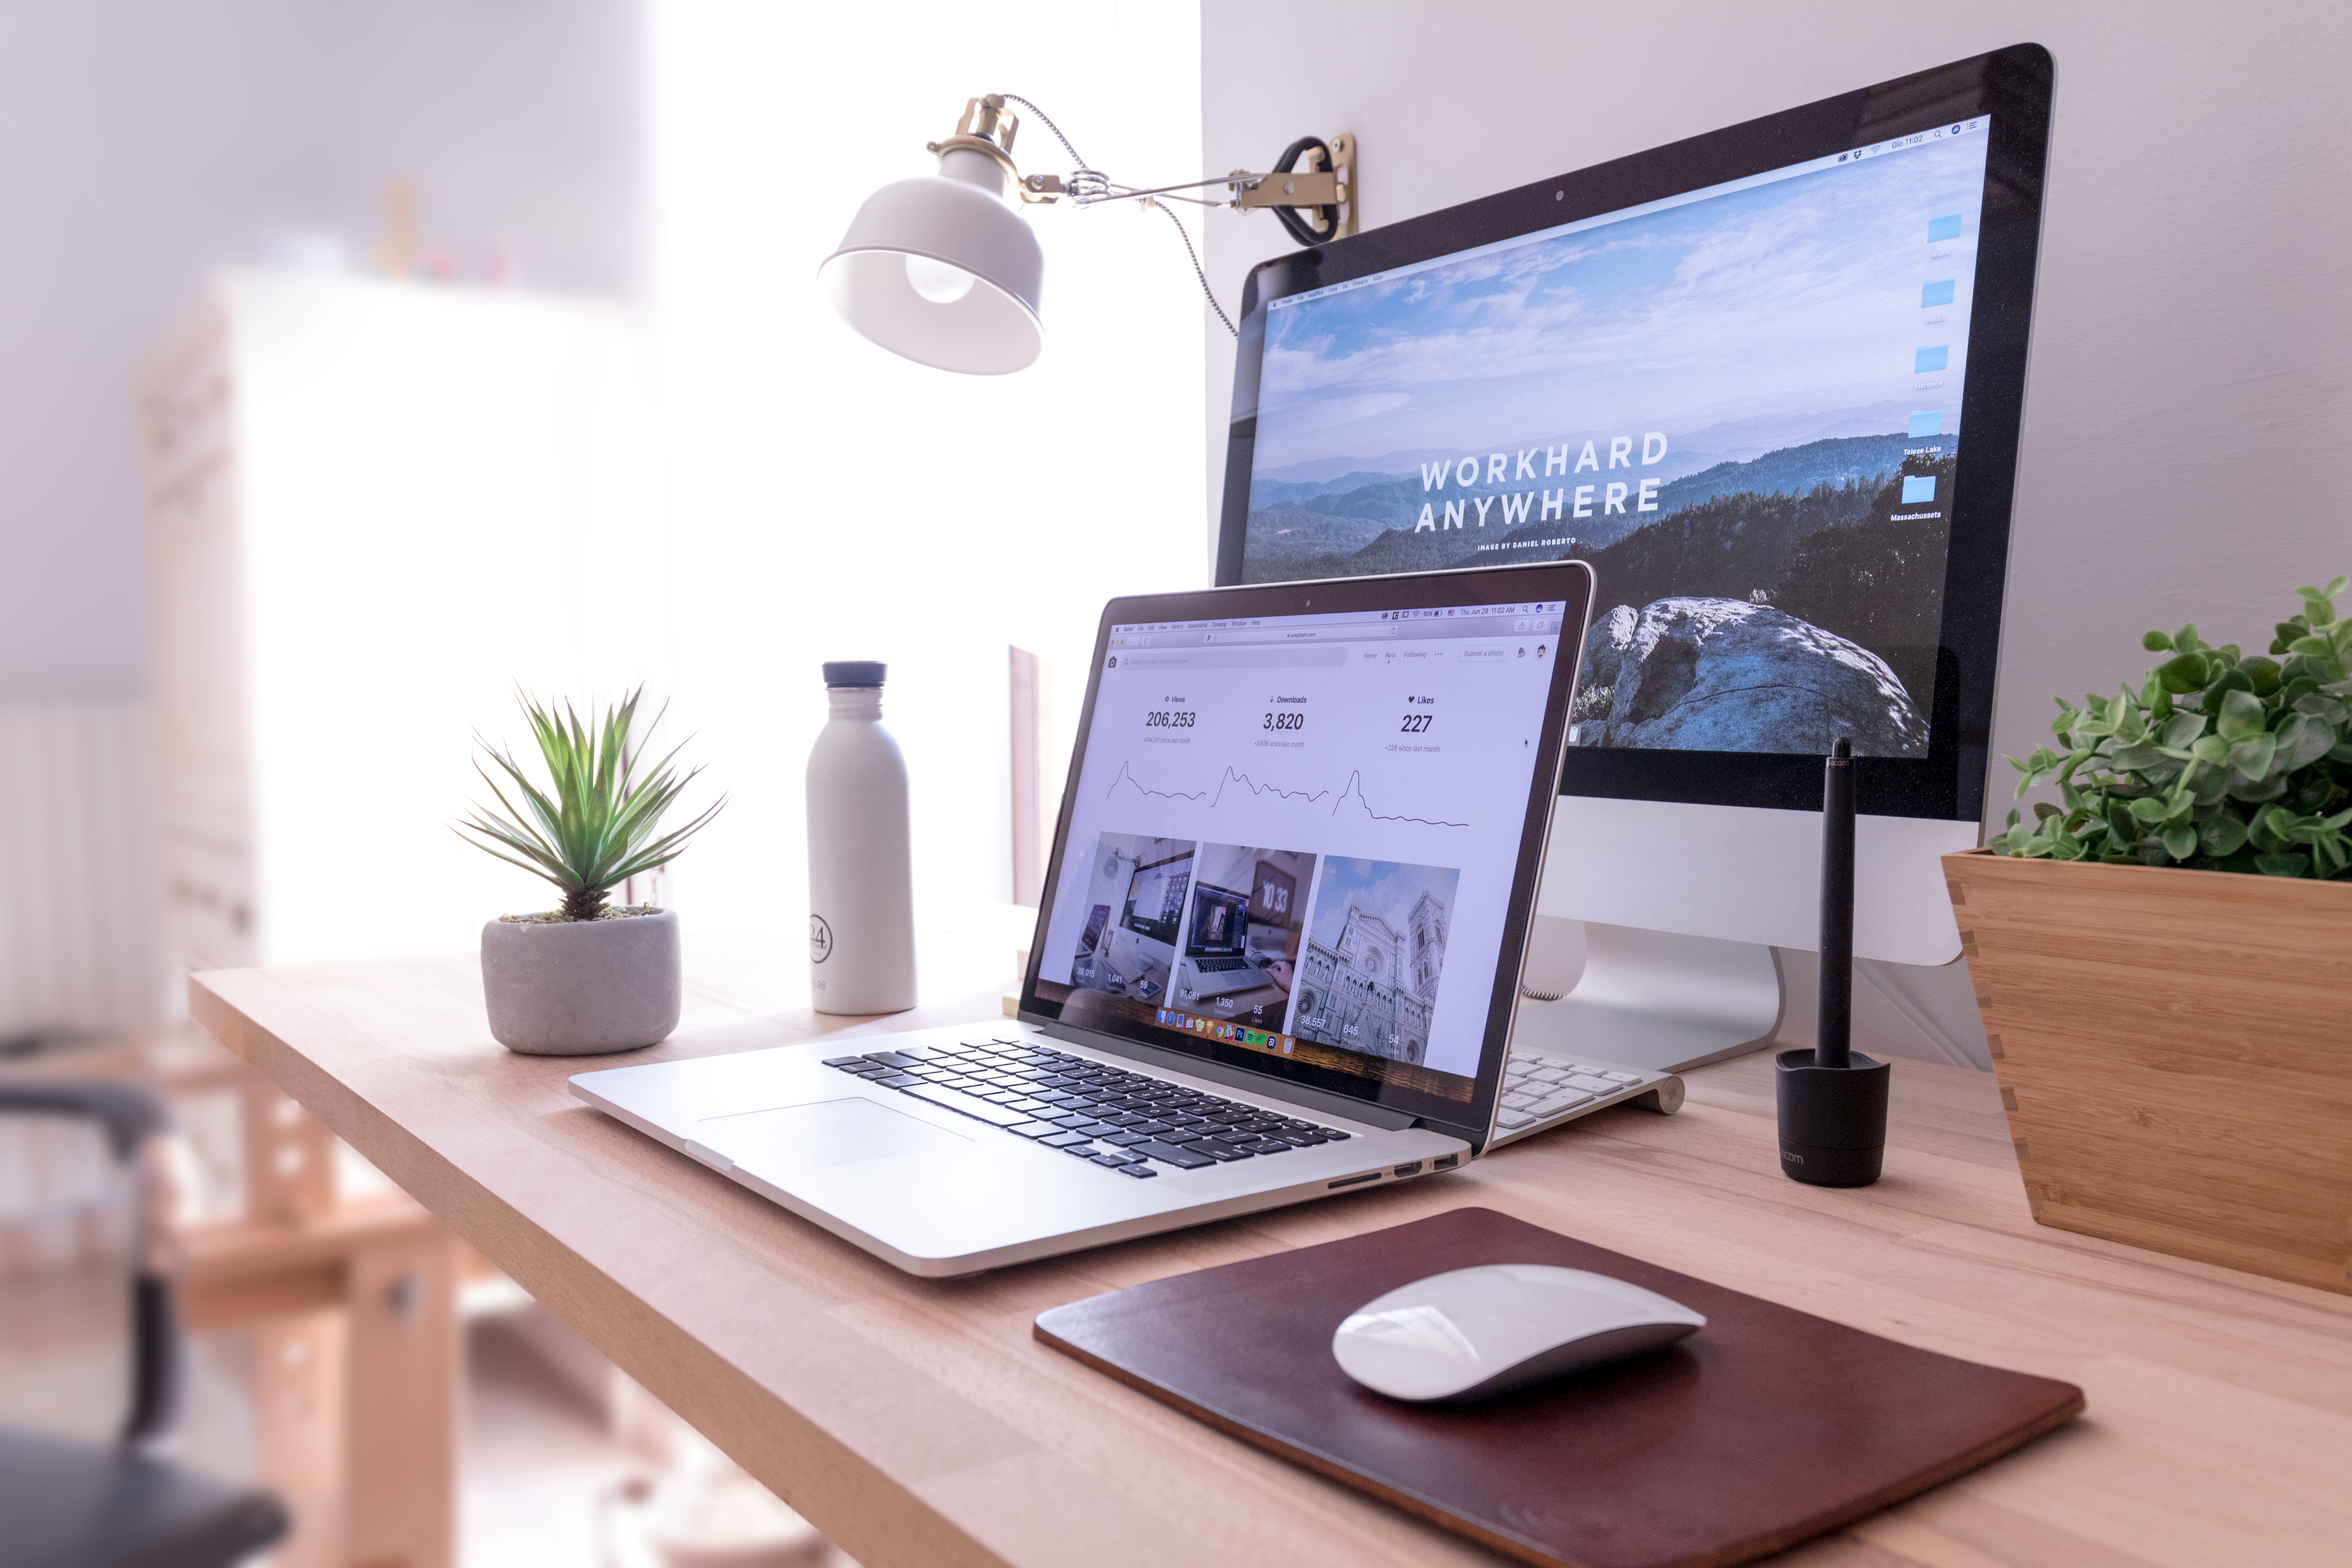
Image Source: Unsplash
What is Canva and Why is it the Gold Standard for Digital Products?
At its core, Canva is an online graphic design tool that operates on a drag-and-drop logic. Unlike traditional software that requires you to understand layers, vectors, and complex pen tools, Canva uses pre-made elements and intuitive controls. It is cloud-based, meaning you can start a design on your laptop at a coffee shop and finish it on your phone while waiting for the bus. For those exploring Canva for Beginners, the most attractive feature is the price point. Canva offers a robust free tier that is more than enough to get your feet wet. However, if you are serious about turning this into one of your primary Online Jobs, the Pro version at approximately $119 per year is an investment that pays for itself almost immediately.
Why choose Canva over something like Photoshop? Speed and accessibility. When you are running a business where you need to Sell Digital Products, your time is your most valuable asset. Canva allows you to prototype ideas in minutes. It provides a massive library of fonts, photos, and graphics that are already curated for modern tastes. Furthermore, Canva’s licensing agreements are specifically built to support creators, provided you follow their rules. This makes it the perfect entry point for someone who wants to focus on the "selling" part of the business as much as the "creating" part.
Getting Started: Navigating the Canva Dashboard
When you first log in to Canva, the sheer number of options can be overwhelming. Don't let the "What will you design today?" search bar intimidate you. Your first step should always be to create an account and organize your workspace. The dashboard is your command center. On the left-hand side, you will see folders for your projects, templates, and the "Brand Kit" (a Pro feature we will discuss later). The main area shows you suggested formats based on trending designs.
To start your journey in Canva for Beginners, I recommend clicking the "Create a design" button in the top right corner. Instead of picking a random template, choose "Custom size." This is a habit you should form early. Knowing your dimensions is critical for digital products. If you are making a printable, you need to know if your audience uses US Letter (8.5 x 11 inches) or A4 (international standard). If you are designing an e-book cover, a standard 2000 x 3000 px size ensures it looks crisp on Amazon Kindle. Starting with the right dimensions prevents your work from looking stretched or blurry later on.
Understanding Dimensions for Popular Digital Products
One of the biggest mistakes beginners make is ignoring the technical specifications of their products. If you want to Sell Digital Products that customers actually love, they must be functional. Here is a quick cheat sheet for common dimensions:
- Printable Planners: 8.5 x 11 inches (US Letter) or 210 x 297 mm (A4).
- E-book Covers: 2560 x 1600 pixels or a 1:1.5 aspect ratio.
- Social Media Templates: 1080 x 1080 pixels (Square) or 1080 x 1920 pixels (Reels/Stories).
- Digital Wall Art: Common ratios are 2:3, 3:4, and 4:5. Start large (e.g., 24x36 inches) so customers can scale down without losing quality.
- Etsy Shop Banners: 2000 x 500 pixels.
Always design at the highest resolution possible. In Canva, this means paying attention to your export settings, which we will cover in the technical section. Remember, a customer who buys a digital file expects to be able to print it at home without seeing pixels. If your dimensions are off from the start, no amount of pretty colors will save the product.
The Art of Using Templates (Without Looking Like a Copycat)
Canva’s template library is a double-edged sword. On one hand, it gives you a professional layout to start with. On the other hand, if you just change the text and try to Sell Digital Products based on that template, you are likely violating Canva's terms of service and hurting your brand. To succeed in Canva for Beginners, you must learn to use templates as a skeleton, not a finished body. Search for a keyword like "minimalist planner" and pick a layout that catches your eye.
Once you have the template open, your job is to transform it. Change the font pairings to something unique. Swap the color palette for your brand colors. Move the elements around—perhaps move the notes section from the bottom to the side. Add your own custom graphics or icons. The goal is to make the design unrecognizable from the original template. This not only keeps you legally safe but also ensures that your products have a signature style that people recognize. This is how you turn a simple design task into one of the most profitable Online Jobs.

Image Source: Unsplash
Mastering Elements and Typography
The "Elements" tab is where the magic happens. Here you will find shapes, lines, frames, and illustrations. When you are just starting with Canva for Beginners, it’s tempting to use the most complex illustrations available. However, professional design often relies on simplicity. Use basic shapes to create structure. For example, a simple rectangle with a lowered opacity can act as a beautiful background for a text box. When searching for elements, use specific keywords like "boho line art" or "minimalist foliage" to find cohesive sets of graphics.
Typography is equally important. A common mistake is using too many different fonts. Stick to a maximum of two or three per design. Use a bold, eye-catching font for headings and a clean, easy-to-read sans-serif font for body text. Strong visual hierarchy tells the reader what to look at first. If everything is the same size and weight, the eye doesn't know where to go. Canva Pro offers a massive library of premium fonts that come with a commercial license, which is a huge advantage when you Sell Digital Products. Always check the readability; if a customer can't read your planner, they won't use it.
Uploading Your Own Assets and Using the Brand Kit
To truly stand out in the world of Online Jobs, you need a brand. This is where the Uploads tab and the Brand Kit come into play. If you have a logo, custom patterns, or specific photos you want to use, you can easily drag and drop them into Canva. The Brand Kit (available in Pro) allows you to save your specific color hex codes and default fonts. This might seem like a small detail, but it saves hours of time over the long run. Instead of looking up your brand's specific shade of "dusty rose" every time, it’s right there in your color picker.
Using your own assets also helps with the licensing issues mentioned earlier. If you create your own watercolor textures or take your own stock photos, you have 100% ownership of those assets. This adds a layer of exclusivity to your products that other creators using standard Canva elements simply won't have. When you Sell Digital Products, being unique is your greatest competitive advantage.
Canva Pro Features: Is the Upgrade Worth It?
I often get asked if you can really succeed in Canva for Beginners using only the free version. The short answer is yes, but the long answer is that it’s much harder. Canva Pro offers several features that are game-changers for anyone looking to Sell Digital Products professionally. The "Background Remover" tool alone is worth the price of admission; it allows you to take any photo and instantly isolate the subject, which is perfect for creating stickers or complex layouts.
Another essential Pro feature is "Magic Resize." Imagine you’ve spent three hours designing a beautiful 30-page planner in US Letter size. Now you want to sell an A4 version as well. With the free version, you’d have to start from scratch. With Pro, you click a button, and Canva automatically adjusts the layout for the new dimensions. Additionally, Pro gives you access to over 100 million premium stock photos, videos, and graphics, all of which are covered under their commercial license for your unique designs. For anyone treating this as one of their serious Online Jobs, the time saved and the increased quality make Pro a no-brainer.
Exporting for Quality: PDF Print and High-Resolution Files
You’ve finished your design, and it looks amazing on your screen. Now what? The export phase is where many beginners fail. If you are selling a digital product that is meant to be printed, you should almost always export as "PDF Print." This setting ensures that the file is saved at 300 DPI (dots per inch), which is the industry standard for high-quality printing. Standard PDF exports are usually 72 or 96 DPI, which will look blurry when printed.
If you are creating digital assets like social media icons or clip art, use the "PNG" format with a transparent background (another Pro feature). PNGs maintain high quality while allowing for transparency, which is essential for customers who want to layer your products over their own backgrounds. Always double-check your files before uploading them to your shop. Open the PDF, zoom in to 200%, and see if the lines are still sharp. If they are, you are ready to Sell Digital Products with confidence.

Image Source: Unsplash
Creating Product Mockups that Sell
When you Sell Digital Products, you aren't just selling a file; you are selling a result. People need to see how your product will look in real life. This is where mockups come in. A mockup is a visual representation of your product—for example, your planner pages shown inside a physical binder or your e-book cover on a tablet screen. Canva has built-in mockup templates (search for "SmartMockups" in the apps section).
A good mockup does two things: it builds trust and it creates desire. If a customer can see your digital wall art hanging in a beautiful, sunlit living room, they are much more likely to buy it than if they just see a flat JPEG file. Take the time to create 3-5 different mockups for every product you list. Show the product in use, show a close-up of the details, and show a "flat lay" of all the pages included. This professional touch is what separates the amateurs from the experts in Canva for Beginners.
Understanding the Commercial License
This is the most critical section for anyone looking to Sell Digital Products. Canva’s licensing rules can be summarized like this: You can use Canva elements to create a *new* design, which you can then sell. You cannot, however, take a single element (like a standalone illustration of a flower) and sell it as-is. Your design must be a combination of elements, text, and layout that creates something original.
Furthermore, there is a distinction between Free and Pro elements. While you can sell designs made with both, using Pro elements requires you to have an active Pro subscription to ensure you have the proper sub-license for that specific export. If you use a Pro element in a design and then cancel your subscription, you still have the right to sell the designs you *already* created, but you cannot create *new* designs with those Pro elements. Always read the fine print on Canva’s official licensing page to stay protected. Avoiding copyright issues is a key part of maintaining successful Online Jobs.
FAQ: Common Questions About Canva for Beginners
1. Can I sell designs made with the free version of Canva?
Yes, you can. However, you are limited to free elements and fonts. If you use a Pro element in the free version, you will have to pay a one-time fee to download that specific design, or it will have a watermark. For a professional business, the Pro version is highly recommended.
2. What are the best digital products to start selling as a beginner?
Printable planners, checklists, and social media templates are great starting points. They allow you to practice layout and typography without needing advanced illustration skills. As you get more comfortable with Canva for Beginners, you can move into more complex products like e-books or wedding invitation suites.
3. How do I deliver the digital product to my customer?
If you are selling on a platform like Etsy or Shopify, you upload the file (usually a PDF or a ZIP file) directly to the platform. Once the customer pays, the platform automatically sends them the download link. This is the beauty of these Online Jobs—the delivery is automated!
4. Do I need to be an artist to use Canva?
Not at all. Canva is designed for people who don't have traditional art skills. It’s more about "curation" and "arrangement" than it is about drawing. If you have an eye for what looks good, you can succeed.
Conclusion: Taking Your First Step Toward Creative Freedom
Starting a journey in Canva for Beginners is one of the most rewarding decisions you can make for your career. Whether you are looking for supplemental Online Jobs or a full-time business, the ability to Sell Digital Products gives you a level of scalability that service-based jobs simply can't match. You create the product once, and it can sell a thousand times while you sleep.
The key is to start small. Don't try to build a 100-page comprehensive business planner on day one. Start with a single-page habit tracker or a set of five Instagram templates. Focus on quality, learn the licensing rules, and most importantly, listen to what your customers want. Design is a skill that improves with every project. So, open up Canva, set your dimensions, and start creating. Your future as a digital entrepreneur is just a few clicks away. What will you design today?
Ready to start your design journey? Head over to Canva and create your first product today. If you found this guide helpful, share it with a friend who is looking to start their own online business!
⚠️ IMPORTANT DISCLAIMER:
The information provided on this website is for general informational and educational purposes only. All content is based on personal experiences, research, and opinions unless otherwise stated.
💰 No Earnings Guarantee: Income examples and success stories mentioned are for illustration purposes only and do not guarantee what you will earn. Your actual results depend on your effort, skills, experience, market conditions, and many other factors. We do not promise or guarantee any specific earnings.
🔗 Affiliate Disclosure: Some links on this site may be affiliate links. If you click on these links and make a purchase, we may earn a commission at no additional cost to you. We only recommend products and services we genuinely believe will add value to our readers.
⚖️ Professional Advice Disclaimer: This information is not intended as professional advice (financial, legal, medical, or tax). We are not financial advisors, attorneys, medical professionals, or tax experts. Always consult qualified professionals before making any financial, legal, or medical decisions.
📱 Platform Policies: Third-party platforms (Upwork, Fiverr, Google, YouTube, PayPal, etc.) may change their fees, policies, or terms at any time. Please refer to official platform websites for the most current information.
✅ Your Responsibility: You are solely responsible for verifying any information before taking action. Use this information at your own risk.


0 Comments
Thanks for your Comment